Editing fonts in Lipi.ai Font Studio
Fix individual letters, tune kerning, update the metadata that ships inside your OTF, and export a production-ready font file. Everything runs in your browser; no plugins, no font-editor software.
What Font Studio is for
Step-by-step
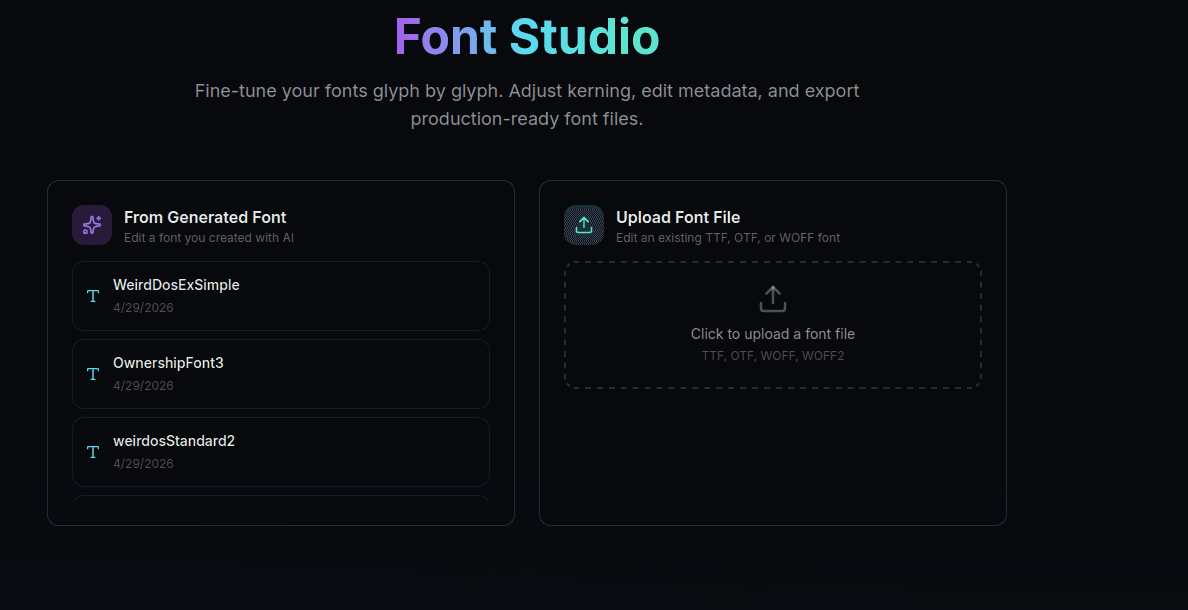
Open Font Studio
There are three ways in, all from the Font Studio landing page:
- Open a font you generated. Any font from the AI generator, image-to-font, or handwriting flow appears as a card. Click it to open in the editor.
- Upload a TTF, OTF, WOFF, or WOFF2. Drag any font file in. Studio parses it and you can edit it like any other font — even ones you didn't generate here.
- Resume an existing session. Studio auto-saves every change to a session. The landing page lists everything you've worked on; pick up exactly where you left off.
The editor layout
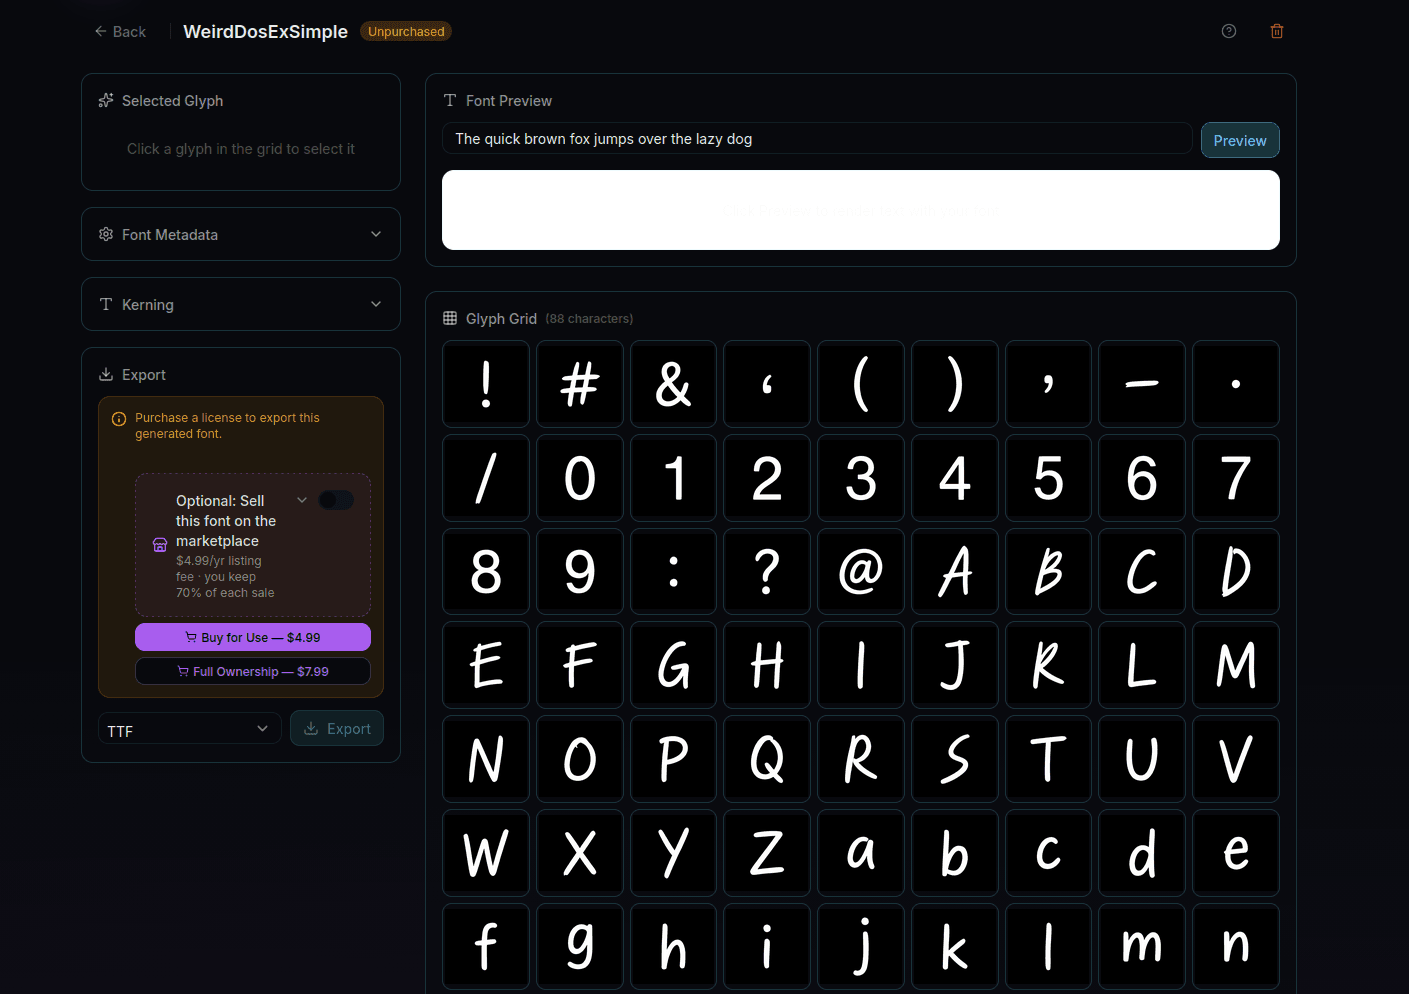
Once a font is open, the editor is split into three parts:
- Glyph grid — every character in the font, alphabet by alphabet. Click any cell to inspect and edit that letter.
- Live preview — type any text and see it set in the current font. Updates as you edit.
- Toolbars — Metadata, Kerning, and Export controls along the top. None of them block each other; you can flip between sections without losing work.
Fix a single glyph
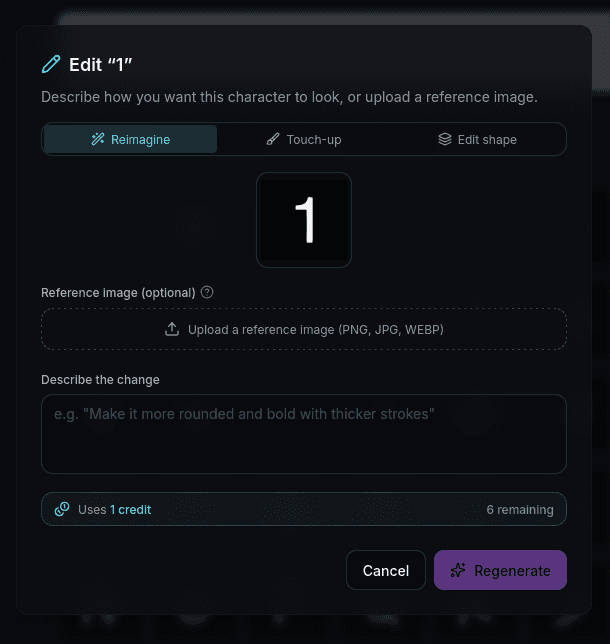
This is the headline feature. Click any letter in the grid and the regeneration panel opens with three controls:
- Prompt — describe the change in plain language. Examples: "make the descender straighter", "match the geometry of the uppercase letters", "add more weight to the curves".
- Reference image — drop a photo, sketch, screenshot, or clean image showing how the letter should look. The model uses it as a hard visual target, not creative inspiration.
- Apply to variants toggle — fixing the lowercase
ocan also refreshò ó ô ö õ øin the same pass, keeping accented characters in sync.
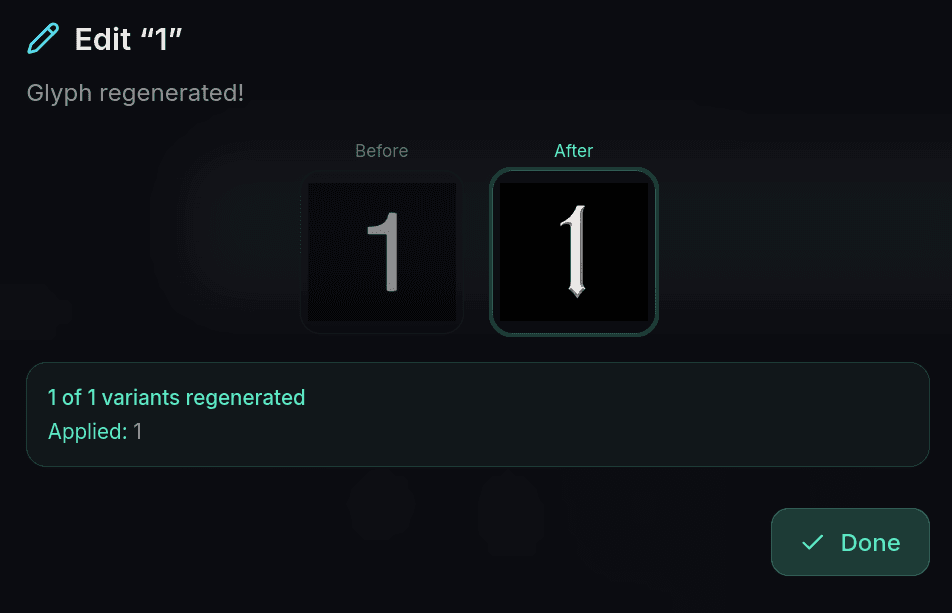
Regeneration runs in the background (~15 seconds per glyph) and produces a new version that sits alongside the old one in the version picker. Nothing destructive: if the new version isn't right, switch back with one click. The 174 other characters stay exactly where they were.
Use a reference image for visual matching
Text prompts are surprisingly bad at "match the style of the rest of the font." Reference images solve this directly. Drop in a photo, a screenshot of a similar font, or a quick pen-and-paper sketch of the letter shape.
This is especially useful for fonts generated from your own handwriting — if one glyph went wrong, redraw it on paper, photograph it, upload as reference, and the broken letter falls back into the family in about twenty seconds.
Tune kerning between specific pairs
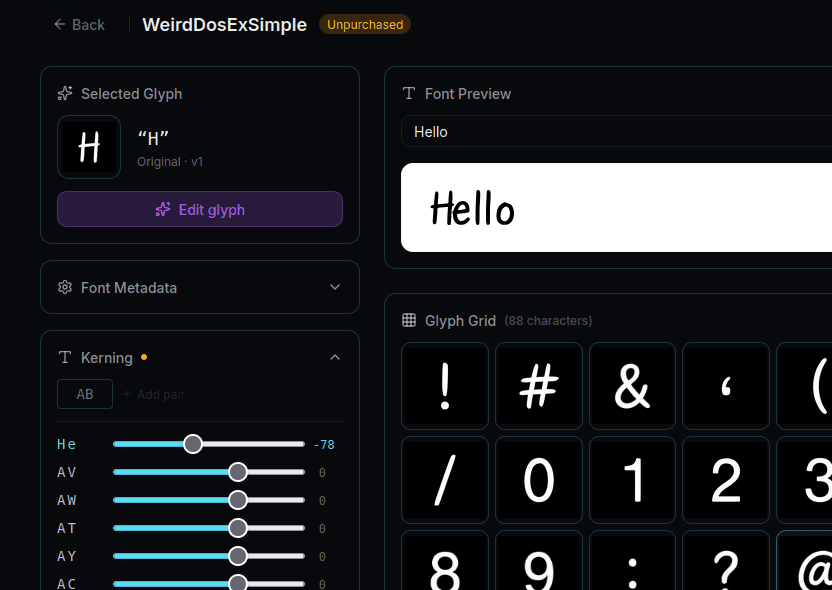
Open the Kerning toolbar to adjust spacing between specific letter pairs (e.g. AV, To, f'). Drag the slider or type a value; the live preview updates as you go.
Kerning changes save to the session immediately. They ship in the exported font as proper OpenType kern table entries, so they apply automatically in any tool that respects font kerning (which is nearly everything: Figma, the Adobe suite, browsers, Office).
Update the font's metadata
Click the Metadata toolbar to set what gets baked into the OTF binary's name table:
- Font name — what appears in app font menus
- Family — groups related fonts together
- Weight — Light, Regular, Bold, etc.
- Style — Normal or Italic
- Designer — credited as the author
- Description — long-form metadata
- Version — semantic version string
Untitled-1.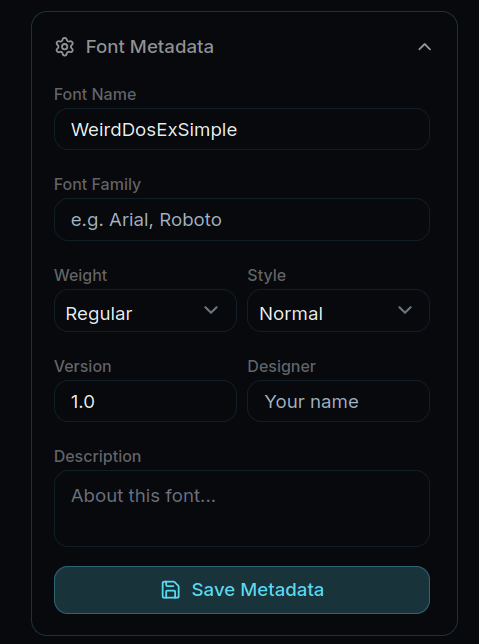
Export TTF or OTF
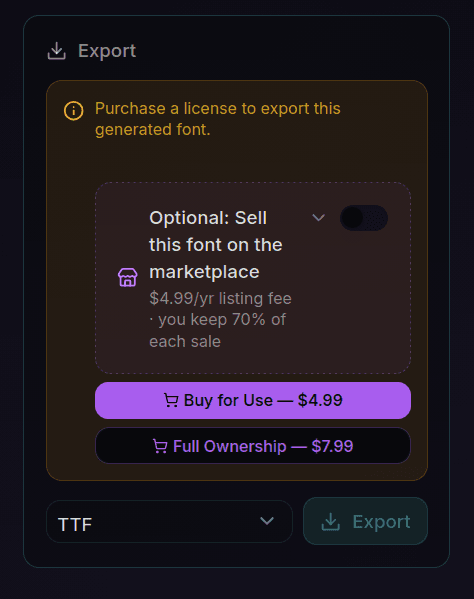
Open the Export toolbar, pick TTF or OTF, and download. Every glyph edit, kerning value, and metadata field is baked into the file. Drop it into Figma, install it on your OS, or hand it to a client.
Edits made in Studio are applied via CFF binary patching at export time — you don't need to re-render the entire font. The export takes a couple of seconds even for fonts with hundreds of edited glyphs.
Optional: list it on the marketplace
When exporting, toggle Sell this font on the marketplace to opt in to the Lipi.ai font marketplace. Other users can license your font; you keep 70% of every sale via automatic Stripe payouts, with a $4.99/year listing fee.
The marketplace toggle lives inside the Export panel (visible in the step 7 screenshot above). When enabled, you supply a category, designer attribution, and preview image alongside the export. You can de-list any time from your dashboard. See the Revenue Share guide for the full payout terms.
Tips that catch most people
a and skipping variants means à á â ä ã å still carry the old shape — and that's often the whole problem.Troubleshooting
Glyph regeneration produced a worse result
Export failed with 'edits could not be applied'
Upload says 'Please upload a TTF, OTF, WOFF, or WOFF2'
.ttf, .otf, .woff, .woff2. Variable fonts load but only the default instance is editable for now.The font doesn't look right in Figma after export
I can't find the font in my OS font manager
Family + Style from Studio's Metadata toolbar, not the file name on disk. Search by the family name you set in Studio.